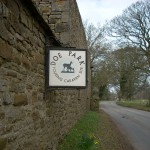
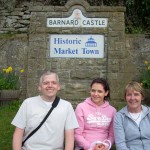
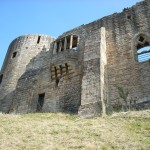
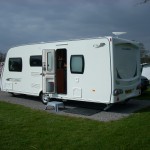
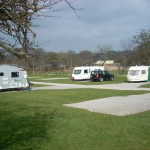
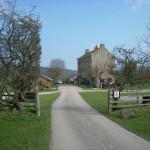
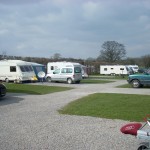
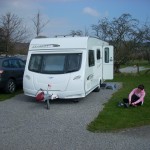
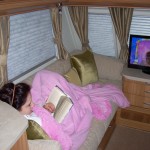
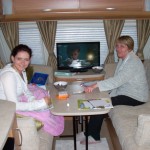
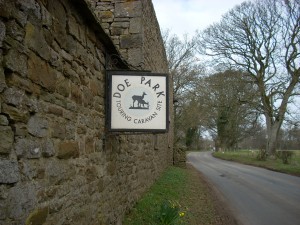
Well our first holiday in the caravan is here and we’re off to Doe Park in Barnard Castle, County Durham. The site came recommended to us by one of the Lunar staff, when we were at the NEC last October. It’s a good choice of site as it’s also very near to Catterick Caravans, should anything go wrong!
 Just before we hitched up, we put the Pro Plates on the steadies, so that they were ready to drop as soon as we got to the site. Make sure you’ve got a mallet at hand for this job, as the locking pins were quite stiff to push into place.
Hitched up, lights checked, ATC on green, mirrors on, before we knew it we were cruising down the A1, on holiday with our caravan. After all of that preparation, it’s finally happening!
Sat Nav loaded with the caravan friendly route, the journey to the site was a breeze. A few narrow roads in Barnard Castle itself, but all managed successfully! A couple of narrow gates on the site itself, but a careful check in the mirrors ensured we weren’t going to scrape the side!
OK, now to park the 24 foot monster! I’ve been through the reversing procedure a hundred times in my head, but now to put the theory into practise! I drove past the pitch so that the caravan axle was about 6 foot or so past where I wanted to be and started to reverse. All was going well but I soon realised 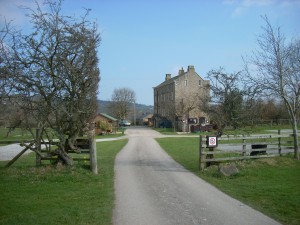 that the turning circle was greater than I thought and started to overshoot the pitch. A quick pull forward and started again, closer, once again nearly there. After a couple more turns managed to get it very close! A quick unhitch and a push put it right on the spot! Not bad for a first attempt.
Handbrake on, steadies down, we were finally ready to check the caravan out and find out how everything works! First job was to connect the mains EHU, bingo, we had power. Next I thought I’d get the gas flowing, so connected the adaptor onto the bottle with the pigtail already attached and connected this onto the regulator. Flip the lever on the valve and we should have gas! One way to check, let’s see if the hob burner works. Bingo, we have gas. Fridge next on list, a simple press of the power button and we have a working fridge. Heating next on the agenda. Checked the fluid level, 1cm above the minimum level marker as it should be. Went to the control panel and switched on the 2kw heater and the gas heater and set the temperature to 30. Fingers crossed, we should start getting some heat! A quick check in the bathroom where the expansion tank is and I could hear a murmer, so something is happening at least.
Next was the water, out came the Aquaroll and off to the water point we went. Having filled it we returned to the van and looked for the pump. Nowhere to be seen. Now I know we have it as the dealer pointed it out during the PDI. We turned the caravan upside down looking for it, we looked in every cavity possible, apart from the kitchen sink, which is where it was! Having found it we then connected 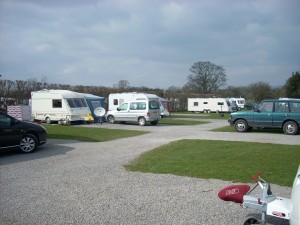 it. A quick trip under the front seat and flicked the drain valve to close. Pump switched on at the control panel, opened the tap and .. water, hooray! The shower was also on, unbeknown to us. We quickly shut it off before any water leaked anywhere! Note to self: Check taps before switching on the pump! Next was the Wastemaster, this was quickly connected with the RapiDrain and left to fulfil its duties, by collecting our test waste water!
So with the water connected and functional, the only thing left to do was to connect the TV! Back inside the caravan, warmth, the heating works! Now to the aerial. The Clubman is fitted with a Status 530 directional aerial, so it was time to ensure the booster was on and lift and point the aerial. This is done by unscrewing the support clamp and lifting the pole up and rotating it until you see a picture. This was achieved quite easily, Harry Hill soon appeared on the TV, so it was time to clamp the aerial up.
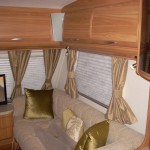
Blinds checked, lights checked, microwave clock set, we were happy we were ready to start the holiday! We’re only here 2 nights and the first night is upon us already. Never mind, we should be able to relax a little more tomorrow. Now, how to make the beds? A quick pull of the bed slats from the front chest of drawers, support cushions placed in the middle and we were ready, well ready to make the bed with the bed sheet, duvet and pillows we had bought! Sleeping that night looking out of the Heiki at the stars in the sky, bliss!
Next morning I decided to charge and make ready the toilet. I filled the jarrycan with water, placed the correct dosage of ‘pink’ into the flush tank, followed by the water until I could see the tank was full. Next job was to prepare the waste tank. I removed the tank and unscrewed the cap on the emptying spout. This has levels marked on it in order to aid in adding the correct amount of ‘blue’.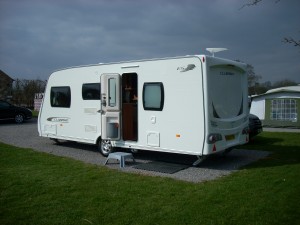 This was duly done followed by a couple of litres of water. Clicked back into place, the toilet was ready to be used! I checked the flush was working, checked the blade was operating, all was looking good. Time to explain to the family now on how to use the toilet!
Later on we managed to get into Barnard Castle itself and had a very pleasant walk about. Picked up some essentials from the local Co-op and headed back to the site. There’s nothing on the site as such apart from reception, although they do sell basic essentials. But it is a very relaxed, well spaced, quiet site. Very friendly staff, excellent toilet/wash block, we don’t need anything else! Phone reception is a little patchy, but you can certainly get a signal. I managed to get the MIFI up and running, by placing it on top of the blind of the Heiki, so we had Internet access. The day came to a close and we found ourselves back in bed, this time facing the dreaded ‘end of a holiday’ and the packing up involved!
So the morning came and the task of preparing the van for it’s return trip to storage began. First on the list was the toilet. The flush tank needs to be emptied whilst in transit, this is initially done by flushing the tank into the waste tank. This empties most of the water but not all. The remaining water is drained by way of a little pipe found in the flush filling point. It pulls out and is bunged at the end. Simply remove the bung and the tank fully empties, no problems there. Next was the waste tank. This is removed and taken to the chemical disposal point, where it is emptied by removing the cap on the emptying spout, pointed and tilted down towards the drain and pressing the vent button to aid the flow of the conents! A rinse with water then follows to ensure all the contents are removed. I then charged the tank back up with ‘blue’ and 2 litres of water, so it was ready for the next time. Not sure if this is the best practise, or to leave it completely empty, but we’ll see.
Aquaroll and Wastemaster were next, simple enough. Both emptied at the grey water disposal point and returned to their respective covers. At this point I opened the drain valve to empty the heater and water pipes. The aerial came next, this was unclamped and returned to it’s lowered position. On the aerial shaft there is a red dot, which denotes where the ‘pointy’ side of the aerial is. This dot  needs to point to the rear of the caravan when in transit, so that the pointy side of the aerial is facing rearwards. This aids in aerodynamics and prevents an uplift possibly forcing the aerial away from the caravan. This is what the instructions say at least. When the van was delivered, it was pointing the ‘wrong’ way. And also during the PDI, I was told to point it forwards during transit, hmm! Mains EHU and gas were disconnected and once everything was packed, the steadies were rasied. For the first time I decided to use the mover to bring the caravan to the hitch point on the car. Remote switched on, the Mammut came alive, indicated by the novel mammoth cry it makes once the test procedure is complete. With the mover engage buttons depressed I moved the remote over the magnetic switch on the A-Frame and waited for the lights to stop flashing. Still flashing I tried it again, nothing. Switched the handset off and back on and did the same thing, this time with success, the mover engaged to the wheels. Handbrake off I then manouvered the caravan to the car very easily. I have to say the mover is excellent. Very easy to control and because the Mammut is designed by AL-KO, it fits the chassis perfectly with no loss of ground clearance. Electrics connected, lights tested, mirros on, we were off again!
Back at storage, I used the Mammut to put the van into it’s bay. Steadies down, hitch lock on and a final check on the contents inside the van. We closed all the blinds to keep the sunlight from fading the interior. This is fine in the Clubman as the blinds don’t use springs, but on blinds which use spring tensioners, it’s best to leave them open. Taps were opened in their midway position, shouldn’t be getting any frost now but seems like good practise anyhow. Fridge door was put in the airing position and with 2 chirps from the alarm, we drove away, counting the days until Easter, when our next adventure would begin!
- Date: 26th March 2011
- Nights: 2
- Pitch #:
- GPS: 54.577390, -1.993150

